Every Obsidian user discovers the power of templates – especially with the Templater plugin – sooner or later.
This extremely useful plugin allows you to make your note creation easier and more efficient.
TL;DR
Learn how to create Obsidian templates based on the Templater plugin asking you for a note title BEFORE creating the note.
A download link is at the end of the post.
If you want to build even smarter Obsidian templates, take a look at this video. In less than 10 minutes, you will learn how to level up your templates.
Requirements
Install the Templater plugin
You need Obsidian (duh!) which you can download for free, and the equally free community plugin called “Templater”.
To install and enable the plugin, follow these steps:
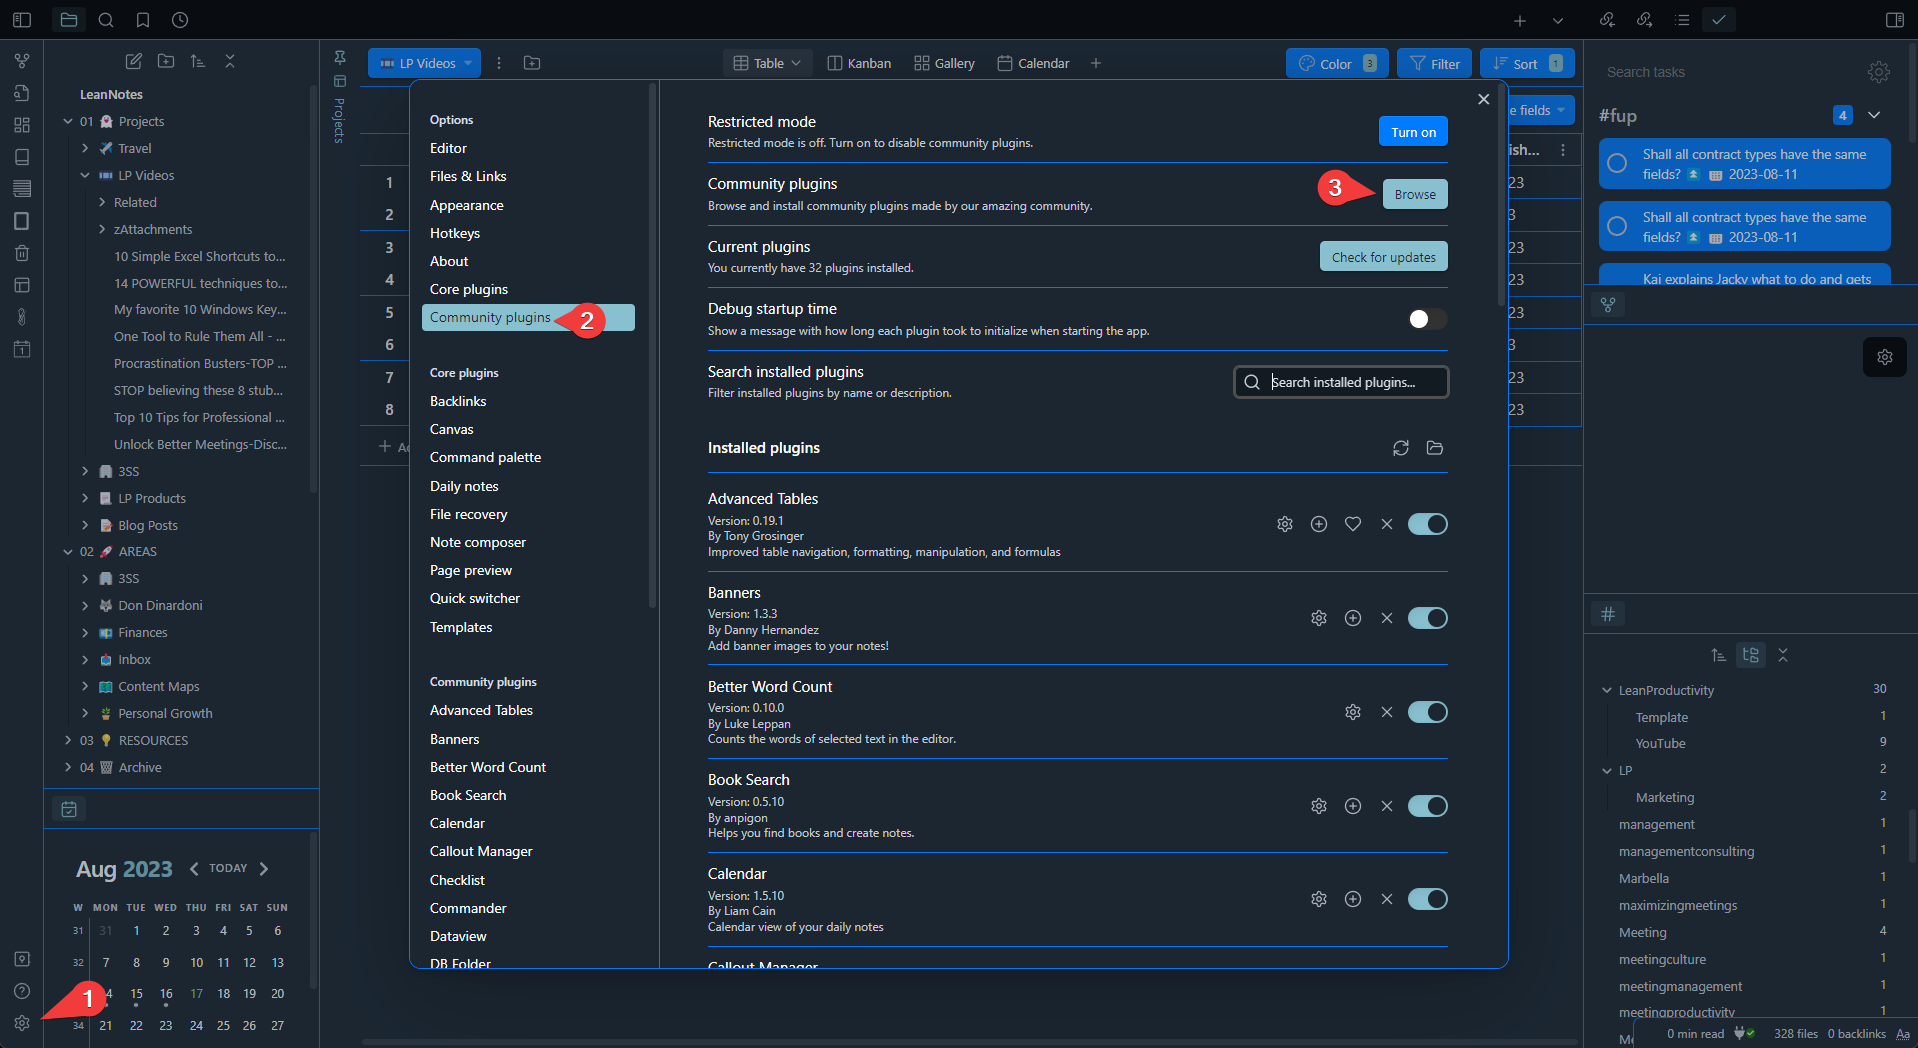
- Go to Obsidian Settings by pressing the cog in the bottom left-hand corner
- Click on Community Plugins and Browse.
How to use Templater
Make your Obsidian template smart
As you may know, “Templater defines a templating language that lets you insert variables and functions results into your notes. It will also let you execute JavaScript code manipulating those variables and functions. It allows you to execute arbitrary JavaScript code and system commands.”
This can be fairly simple one-line snippets like inserting the creation date of a new note, like so:
Created: <% tp.date.now(“YYYY-MM-DD HH:mm”) %>
To make Obsidian ask for a note’s title BEFORE creating the note, you need to add the code snippet on the right (or below if you read this on a mobile) to your template’s frontmatter.
You can copy the script from here. When pasting the code, make sure to “Paste as Plain Text” – otherwise, Templater will run into a parsing error.
The result
If you then create a new note based on this template, the following things will happen:
- Obsidian will ask you for the note’s title.
- Obsidian will create the note with the provided title.
- The new note’s frontmatter will be filled with these tags:
- “Created:” the date when you created the note.
- “Modified:” the date when the note was modified. Unfortunately, this does not update automatically when you do changes later.
If anybody knows how to do that, please let me know. - “Alias:” allows you to specify one or more alternative titles that will be found when you search for the note.
- “Tags:” lets you categorize your note with one or more tags – very helpful for keeping notes organized.
- Outside the frontmatter section, the chosen title will automatically be added as a level 1 heading.
- Last but not least, Templater will mark cursor positions for you. After creating the note, press the TAB key to jump to the next one. This allows you to start typing right away.
Bonus for you
I prepared a template for taking notes during meetings that uses Templater and the exact method I just described.
You can download it for free and drag it into your vault’s template folder.
This template will give you notes like the one in the image to the right.


